Description
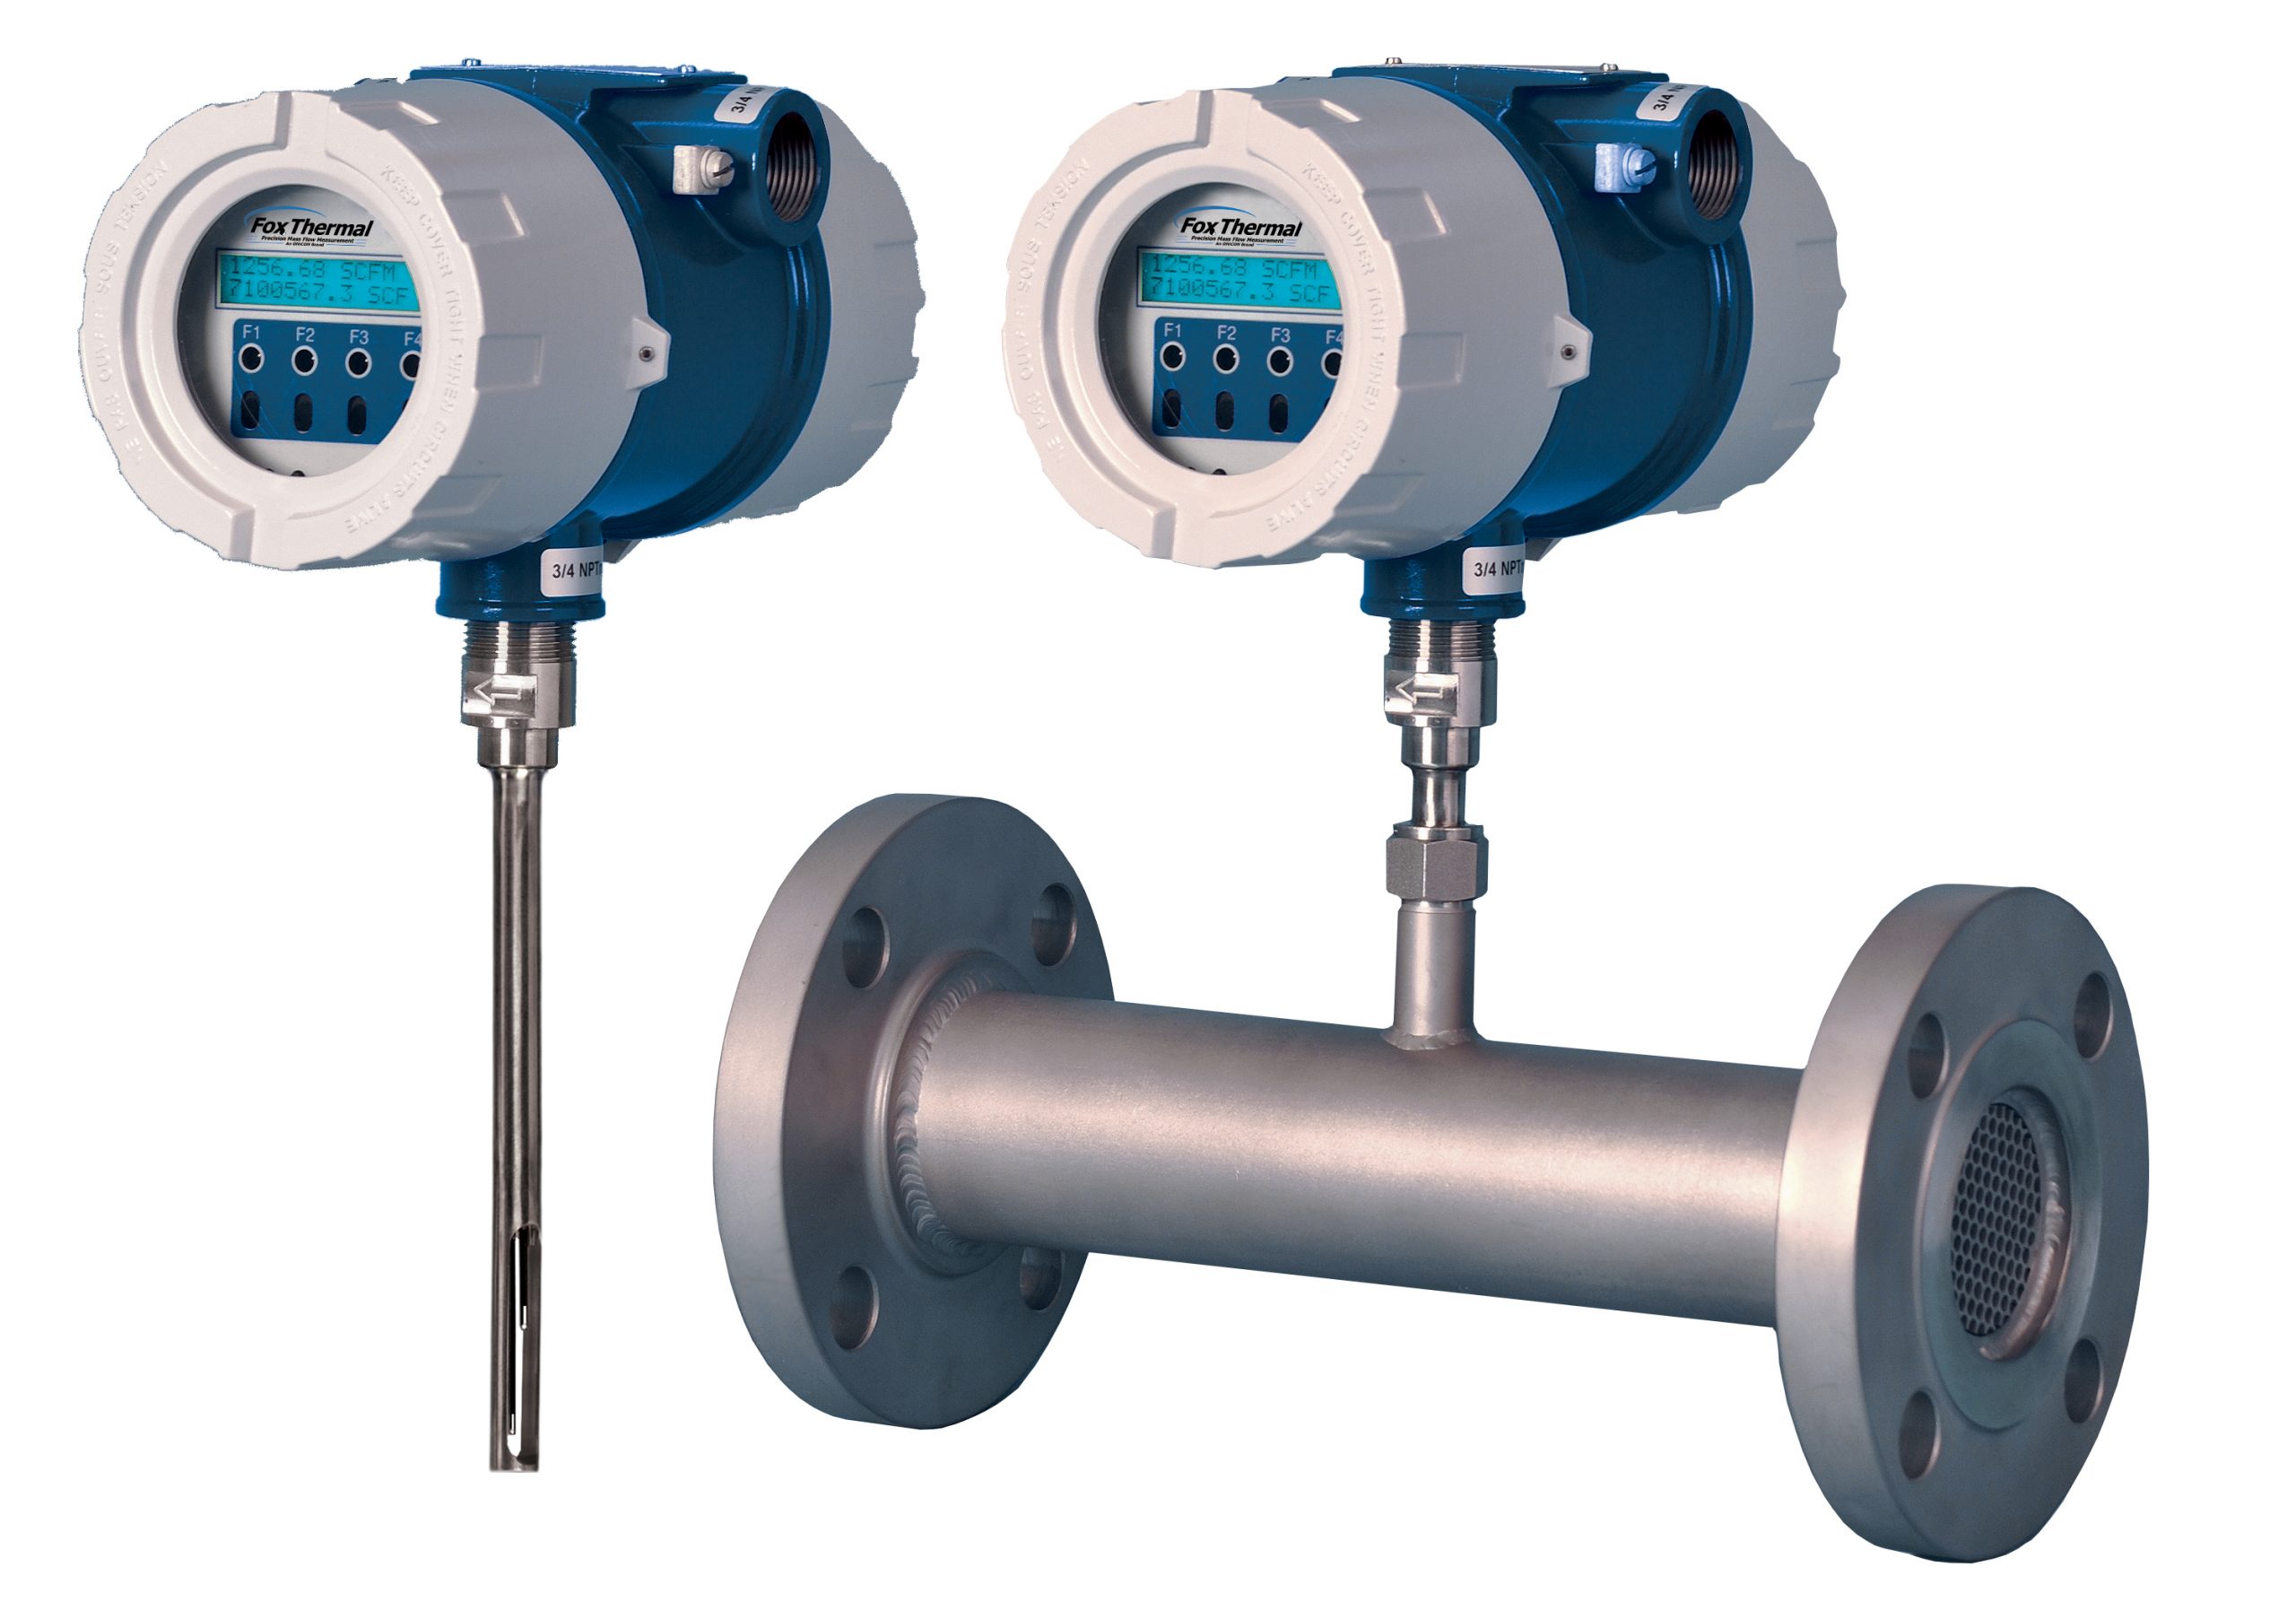
The Fox Model FT3 measures two important process variables with a single instrument, providing isolated 4 to 20 mA and pulse outputs for flow rate, and a 4 to 20 mA pulse output for process gas temperature or a second flow rate output.
Direct mass flow measurement, exceptional low-flow sensitivity, fast response, and low maintenance requirements distinguish the Fox Model FT3. Virtually immune to changes in temperature and pressure, the flow meter delivers repeatable, accurate mass flow measurement under varying loads. It’s rugged, no-moving-parts design is also ideal for high-vibration industrial environments, and enhanced EMI immunity makes it suitable for environments where electric motors, ignitors or dirty power may affect instrument performance.
Fox Thermal Instruments knows that customers want creative and effective solutions to some of their common process problems. Downtime due to equipment maintenance or calibration costs money and wastes valuable time. Calibration Validation of flow meters in the field provides assurance of the functionality of the meter and avoids the downtime associated with annual calibrations.
Used in succession, Fox’s CAL-V™ and Zero CAL-CHECK™ Tests can give you the reassurance that your meter is performing accurately in the field without the need to interrupt flow or send the meter back to the factory. The tests are quick and easy to perform at any time and help with the challenging requirements for measuring the flow of air and gases.
The CAL-V™ feature is an in-situ calibration routine that validates the flow meter’s calibration accuracy by testing the functionality of the sensor and its associated signal processing circuitry. This innovative approach lets you validate instrument calibration in the pipe, at process conditions, with just a push of a button. At the conclusion of the test, the meter will display a pass/fail message and the CAL-V™ data is saved in the meter for look-up at any time. CAL-V™ is an operator-initiated test that can be performed at any flow rate, including zero, and is completed in just three to four minutes. During the test, the meter’s microprocessor adjusts the signal to the sensor elements and determines the resulting electrical characteristics. These site-determined characteristics are compared with the data that was collected and stored in the instrument electronics during the original factory calibration. Matching data within established tolerances confirms the meter is measuring accurately.
Learn more about Thermal Gas Mass Flow Meters available at BBP.


